Then one day it dawned on me! Why can't I just make it myself!?! So that is just what I did. I realized after looking I had everything I needed except for a zipper. So really this project only cost me $1.77 plus tax!!
I started out with two large pieces of fabric I had in my stash. I picked a dark color for the bottom and found a top piece that matched the colors in our living room. :)
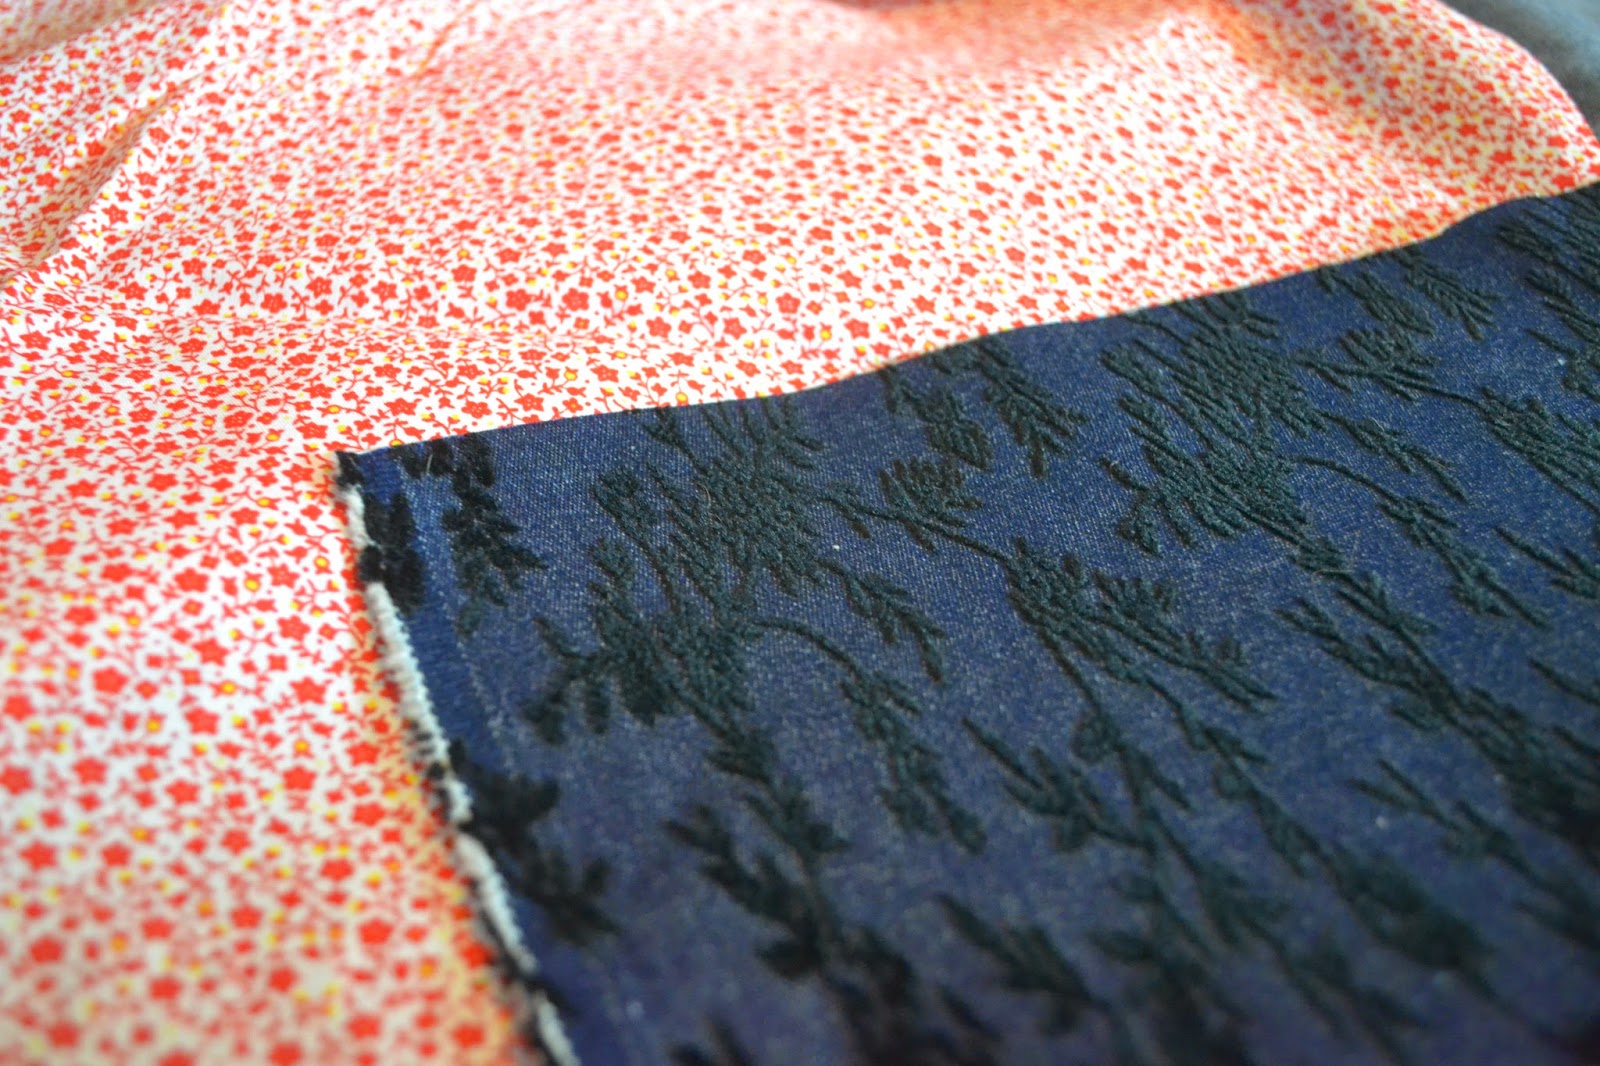
Next I laid both pieces out and cut them to approximately the same size. I laid them so that I would be sewing the bed inside out, with the decorative sides against each other. I used stick pins to keep each of the sides in place.

I pinned my zipper in place on one of the small sides. I wanted to be able to remove the items inside so that I could wash them along with the bed cover.

Here is what I had after everything was pinned. It turned out to be bigger than I expected, but works great! I didn't measure when putting the pieces together. I just went by how big my pieces were already and shaped them up to be about the same size. When pinning, I just eye balled it to get the sides straight. I knew once I turned it inside right and stuffed it you wouldn't be able to tell if I was off a little.

Next came the sewing part. I have done very little sewing machine work without the help of my mom, so I was pretty proud of this project. I got everything set up and just went for it! (I know it doesn't look like it is still inside out here, but it is. I just had excess fabric I folded over rather than cutting off.)
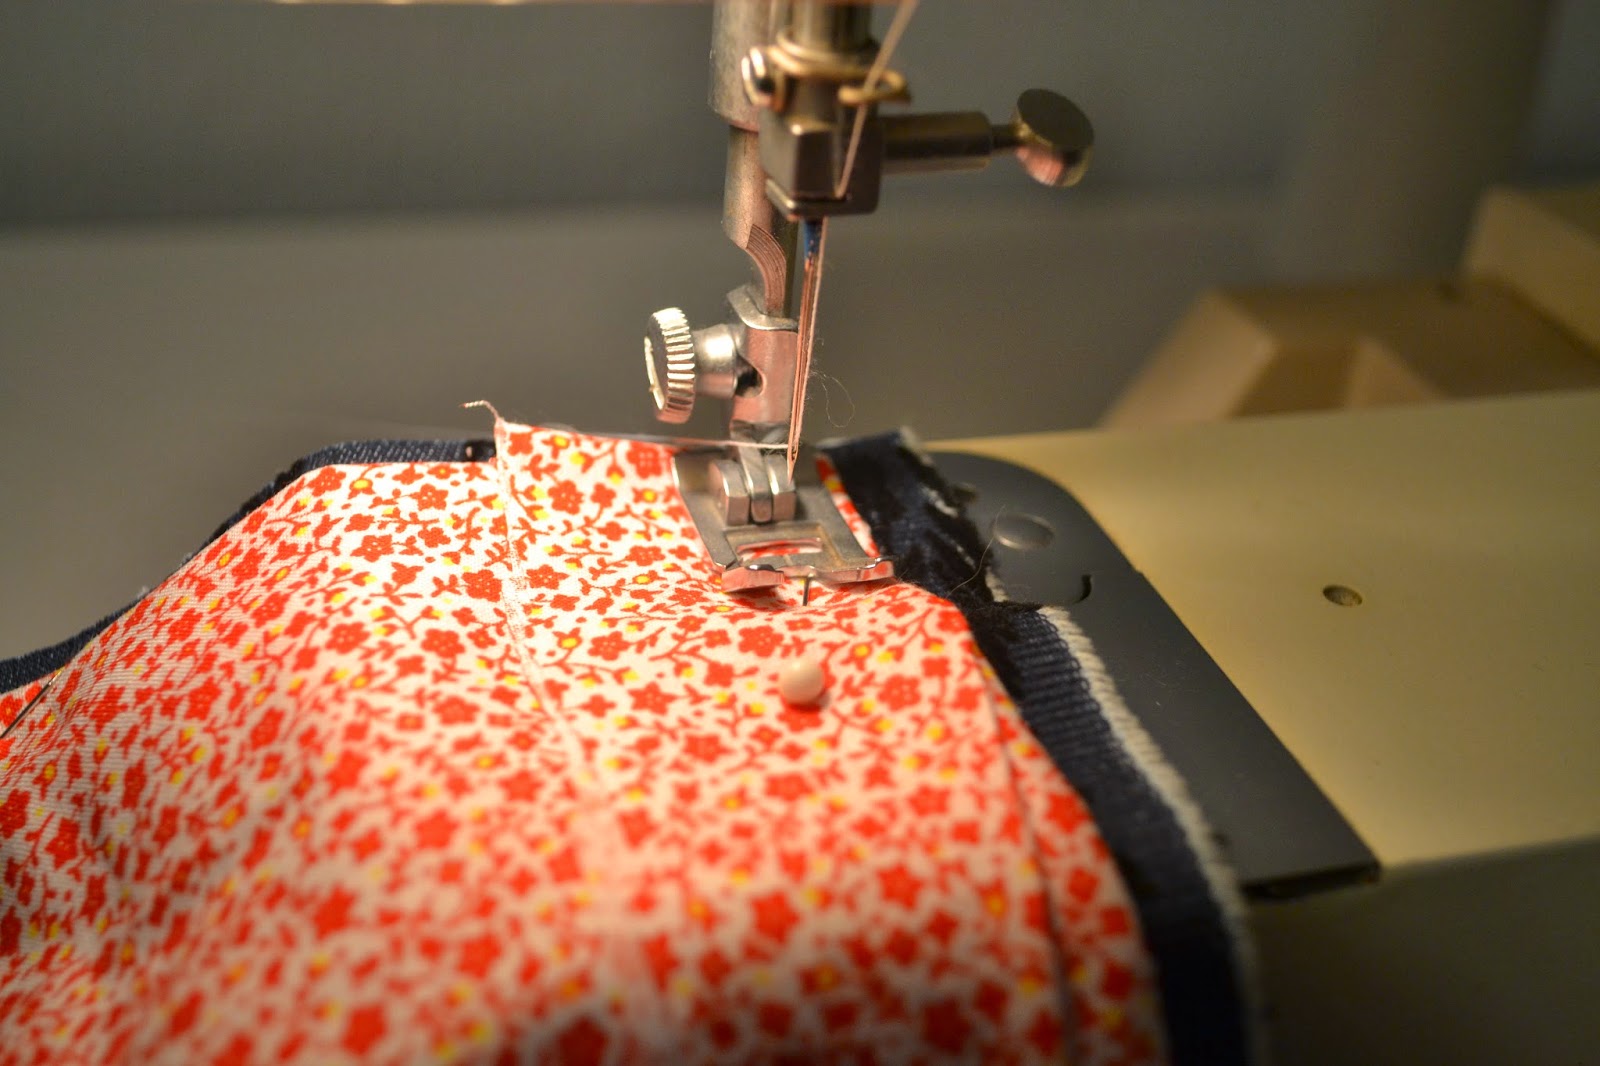
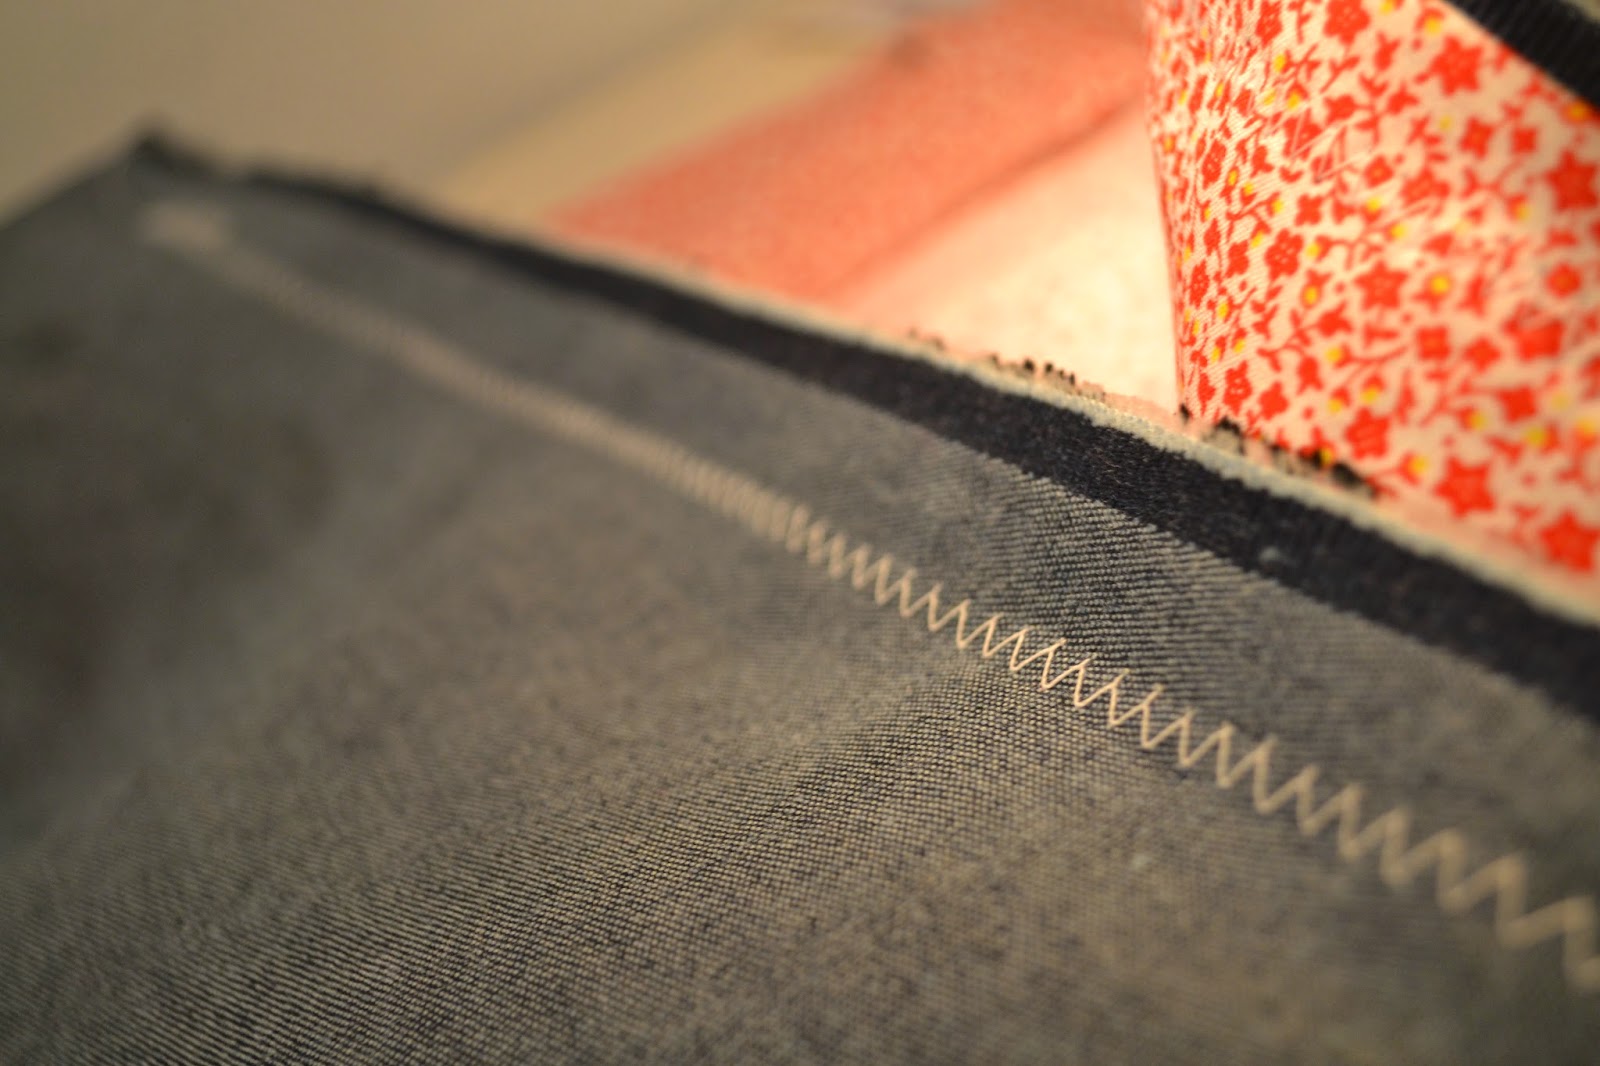
I used the zigzag pattern setting on the sewing machine for the thread. I thought this might be a little more durable since it was going to be a dog bed.
Next came the zipper. I admit I have not installed a zipper on anything before this! So I kinda winged this part. I am sure there are better and more proper ways than my method. However, all I did was to sew the zipper as close as I could to the edge, attaching it to both fabrics. I will admit my method left small holes on each side because I sewed the zipper after sewing the fabrics to each other on both sides of the zipper. If I had to do over I would sew the zipper in first so that I could be sure to have enough room to sew the whole zipper to the fabric. (Hope this makes sense)

Once I had the zipper attached, I turned the fabric inside right. Here is what I had made!

I stuffed the cover with extra pillows and blankets that could be washed. Here is the finished product!

"Please with the camera, I am trying to sleep" :)

Hope this was helpful. It was a lot of fun to make and has got me looking into more sewing projects!
No comments:
Post a Comment